20200403-Blue_Diamond_Hill-southern_loop,partial_northern
page 4 of 11
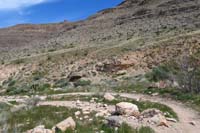
042-another_cairn,still_difficult_to_identify_the_Litterbox_trail.jpg
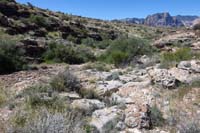
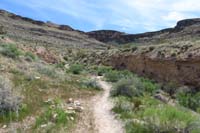
043-now_the_trail_is_simply_trudging_through_a_wash.jpg
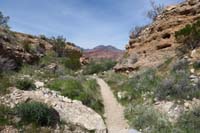
044-looking_back_to_Litterbox_connecting_to_SARS_Trail_to_right,Radio_Tower_Trail_to_left.jpg
045-scenic_view_along_Radio_Tower_Trail.jpg
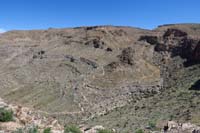
046-scenic_view_along_Bone_Shaker_Trail.jpg
047-scenic_view_looking_east_to_Bob_Gnarly_up_canyon_and_Bomb_Voyage_uphill_to_Muffin_Peak.jpg
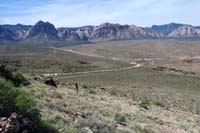
048-scenic_view_looking_north_to_Cowboy_Trail_Rides_and_trailhead.jpg
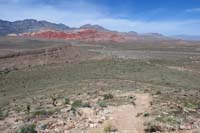
049-scenic_view_looking_northeast_to_nearby_hill_and_area_I'll_explore_next.jpg
050-approaching_Bob_Gnarly_connector_TJ-heading_left_next_to_explore.jpg
051-scenery_along_connector_trail_through_wash.jpg
052-scenery_along_connector_trail_through_wash.jpg
053-looking_back_to_scenery_along_connector_trail_through_wash.jpg